I wanted to start a series of posts for the projects I finished/polished for my Practical Deep Learning for Coders fast.ai course. Since I’m pretty green on ML/DL field, I hope the challenges I faced and overcome could be of value for other people experiencing the same journey.
Why Build a Chinese Calligraphy Classifier
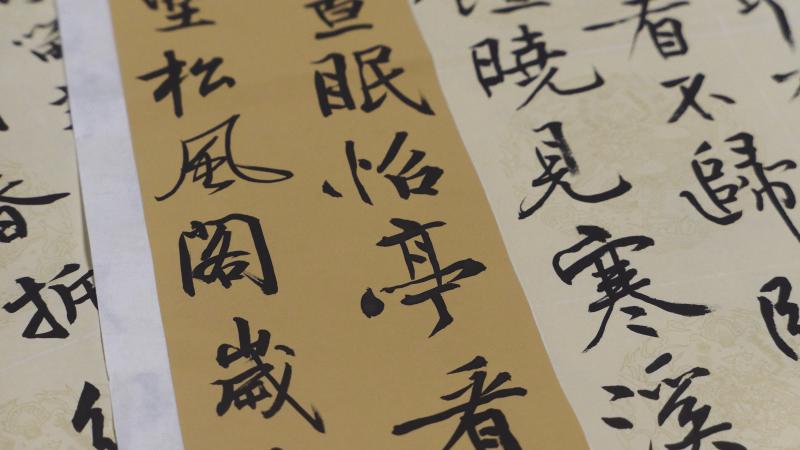
Like any calligraphy, Chinese calligraphy is a form of art. Some great pieces written by some ancient masters have both great art value and economic values (selling at multi-million dollars on auctions).

Jieshi Tie by Song Dynasty politician and scholar Zeng Gong, $30,000,000
There are multiple main styles/schools of calligraphy, mainly belongs to different dynasties. Each has its own way of shaping the character and arranging them. The differences are subtle and abstract. It makes sense to see if a trained deep learning model can do a good job of telling which style it is. DDI Editor’s Pick: 5 Machine Learning Books That Turn You from Novice to Expert | Data Driven… *The booming growth in the Machine Learning industry has brought renewed interest in people about Artificial…*www.datadriveninvestor.com
I picked three styles:
-
Lishu(隶书)
-
Kaishu(楷书)
-
Xiaozhuan(小篆)
as a proof-of-concept. Once successful trained, the model could serve as a transfer learning base-model for the more fine-grained classifier( e.g. calligraphers classifier). This has some real-life value. From time to time, some ancient artifacts are discovered and some of them are calligraphy artworks. Sometimes it’s hard to tell whose work it is. Is it valuable (like undiscovered artwork by a famous calligrapher)?
This calligrapher classifier can serve as a way to quickly identify artworks by great calligraphers. ( Finding diamond in the rough 😉)
Collecting Data
To build a calligraphy classifier, we will need some calligraphy examples of each style. I did some search online and cannot find any good already-made data-set for different calligraphy styles. So I’ll have to build it myself.
Building a images data-set isn’t hard thanks to Google’s Images search functionality and some JavaScript snippets. Here’s how:
-
Go to Google Images and search for “隶书 字帖 网格” (lishu, characters book, grid), this will give you the most relevant results.
-
Scroll down to show more results, you’ll hit the bottom with ‘Show more results’ button. Click if you want more, but keep in mind that 700 images is the maximum here.
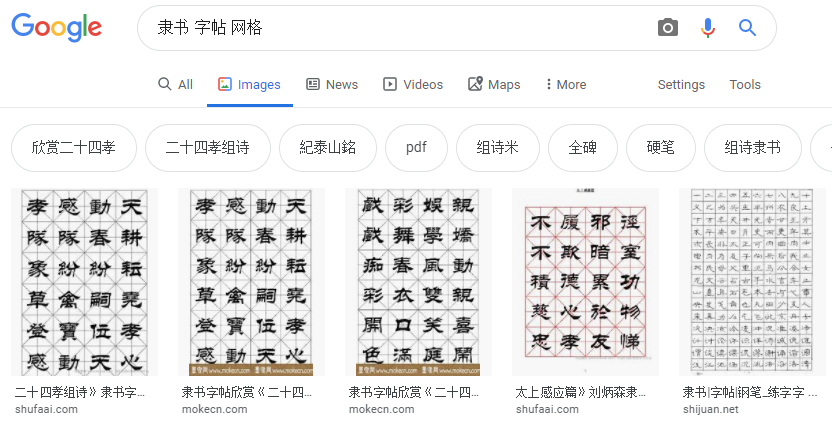
Google search results for Lishu style
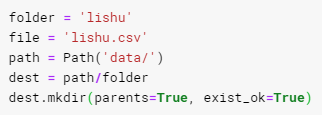
- Now is where the magic happens. Press Ctrl+Shift+J in Windows/Linux and Cmd+Opt+J in Mac to bring up the JavaScript ‘Console’ window of the browser. The following JavaScript snippet will get the URLs of each of the images.
- If successfully run, a text file will be downloaded with all the URLs for the images in your search results. You can then set up a folder and use fast.ai’s ‘download_images’ function to download these images.
-
Rinse and repeat for other styles. You might want to put them into different folders like kaishu, xiaozhuan and put them all under a folder called train so later on, fast.ai can easily import them into the model.
-
Alternatively, you can also go to Baidu.com for images search, using this snippet to automatically download the images you searched for. (Code too long to be put into this post, so I link it here).
Let’s Have a Look at the Data
If you organize the downloaded images into train/lishu, train/kaishu, train/xiaozhuan, then you can run the following code to import them into and transformed accordingly, ready to fit a model.fast.ai’s powerfulImageDataBunch object, where all data is organized, splitted and transformed accordingly, ready to fit a model.

Note that we split the train/validation set with an 80/20 ratio, image resized to 224 which is a good default for any image recognition task.
Now that data is imported properly, let’s look at our images:
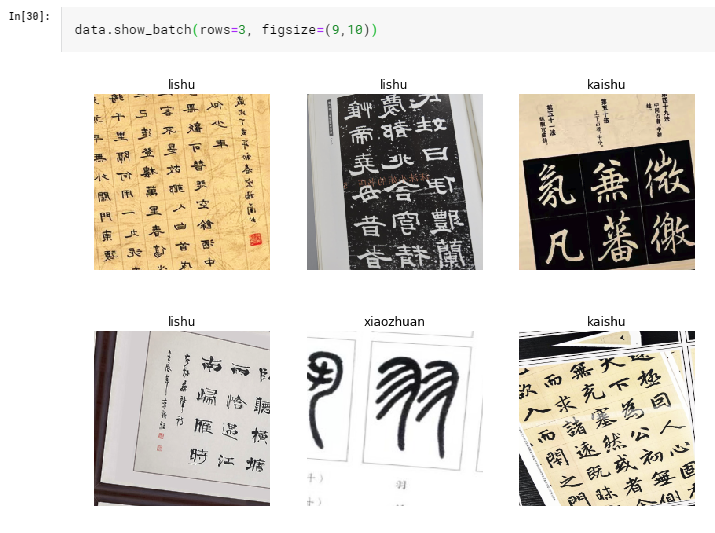
As we can see from the few examples above, the data-set is rather ‘dirty’. The images are not properly cropped, with some side notes with different calligraphy style and some images only have one or two characters. But it’s OK. Let’s quickly train the model and see how it performs so we can gain some insights into our data.
Quick and Dirty Training
Let’s first create a model. We’ll be using transfer learning and use ResNet50 as our model. Pre-trained weights will be downloaded.

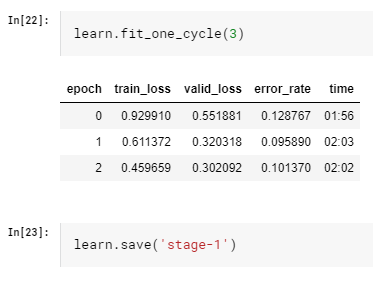
With 3 epoches of fit_one_cycle, we managed to reach a 90% accuracy rate on our validation set. Not bad!
Unfreeze and Fine-Tune Our Training
Since the fit_one_cycle function will freeze the initial layers and only training the last couple of layers to speed up the training speed(this approach works because usually for transfer learning, initial layers will capture basic features of the images that are not likely to change a lot), we can hopefully further improve our accuracy by unfreezing all the layers and train again.

We used the above lr_find function to find a good learning rate range. The key is to find the steepest slope (as indicated in the orange circle above) in the learning curve and slice it for further training. For example, in the above figure, the bottom of the curve is at 1e-03, then we can pick one point at 1/10 of that, which is 1e-04, and the other one at 1e-06 or 1e-05 (This is inspired from an experimental concept of ‘Super-convergence’, described in details in fast.ai course. Sometime you need to do a bit of experiment to find the best learning rate combination but then again, fast.ai is always preaching iterative and interactive approach.) The idea is still to train the first couple of layers slower and last couple layers faster.
Let’s train another two epoch:
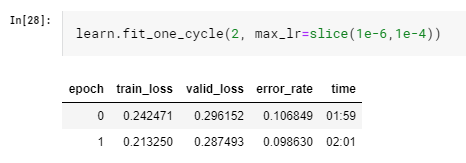
Slightly better and the validation_loss starts to surpass train_loss, a sign of overfitting. Let’s stop here and wrap things up.
Results Interpretation
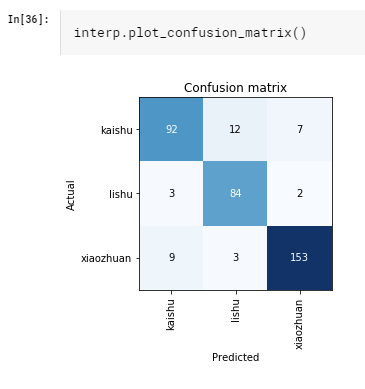
We reached 90% accuracy. Not state-of-the-art but already pretty impressive considering we only have a roughly 700 images per class data-set. More data will definitely lead to better results. Let’s look at our results and see if we can find some insights.
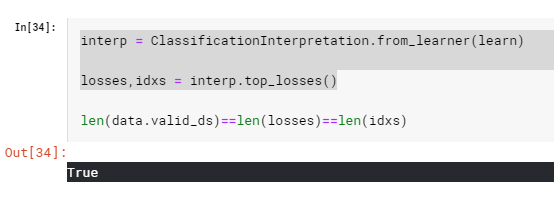
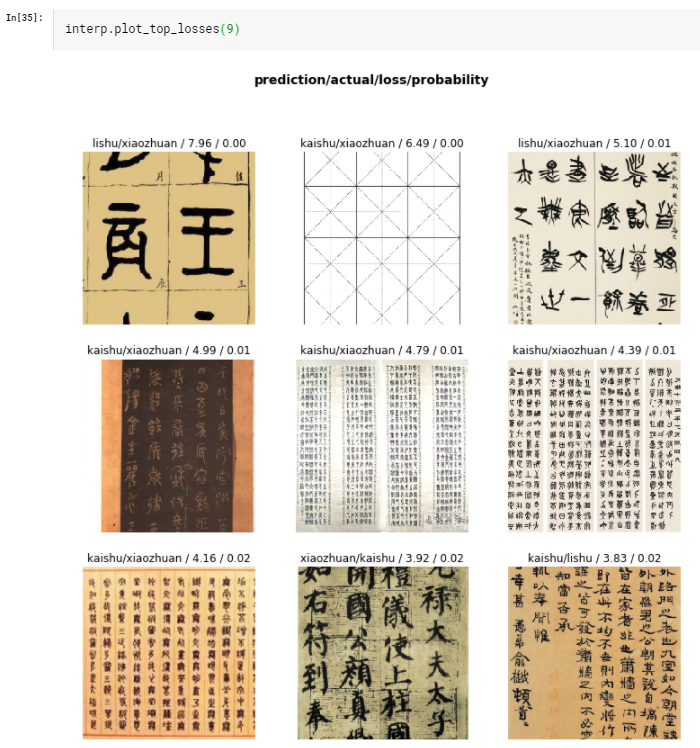
Using the ClassificationIntepretation object from fast.ai, we can easily calculate the top_losses and see what they are:
Look at the confusion matrix, the model does really well in recognize ‘xiaozhuan’, probably due to its unique stroke arrangements.
A couple of insights:
We still have totally wrong images like the grid one (2nd one on 1st row) If there are too few (1st row, 1st column) or too many (2nd row, 2nd column) characters, the model will struggle. Some image shows ‘in-between’ kind of styles which the model also had a hard time classify. Which is totally normal, since even human will have a hard time telling which style it belongs to.
Final Thoughts
This experimental project actually works exceedingly well with fast.ai library. Jeremy Howard said on the course and I quote here (not exactly word by word, but I hope I captured the gist of it. 🙏):
fast.ai is a very opinionated library. Wherever we know a best default, we’ll choose it for you. Whatever best practice we know works well, we’ll do it for you.
This is at least proven in this project. With only very few lines of code and very minimum efforts for data collection, we managed a 90% accurate model. I believe with more and better quality data. The state-of-the-art results could be achieved and our calligrapher classifier vision is not beyond reach.
fast.ai’s tagline: Making neural nets uncool again.
Finally, allow me to paraphrase above tagline with a Chinese poet:
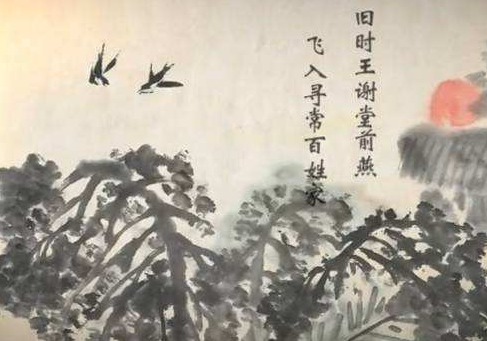
“Where once the swallows knew the mansions of the great, They now to humbler homes would fly to nest and mate.“
You could find out how I fine-tuned the model and achieved better accuracy at the link below: How I Trained Computer to Learn Calligraphy Styles: Part 2 Build a Deep Learning Models with fast.ai Librarymedium.com
